REQUEST AN ESTIMATE TODAY! CONTACT
GALLERY
MY ACCOUNT


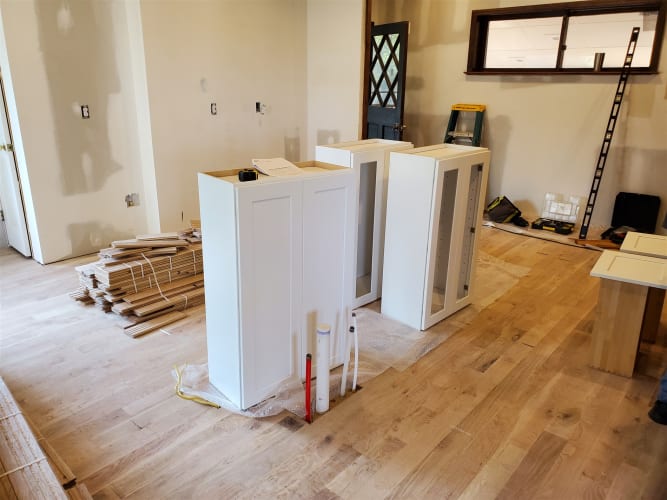
Diving into a kitchen remodel on your own is one of the most rewarding projects you can take on. Learning how to install kitchen cabinets yourself really comes down to three things: careful planning, precise measurements, and a whole lot of patience. Get those right, and you can achieve a professional-quality finish that completely transforms your space.
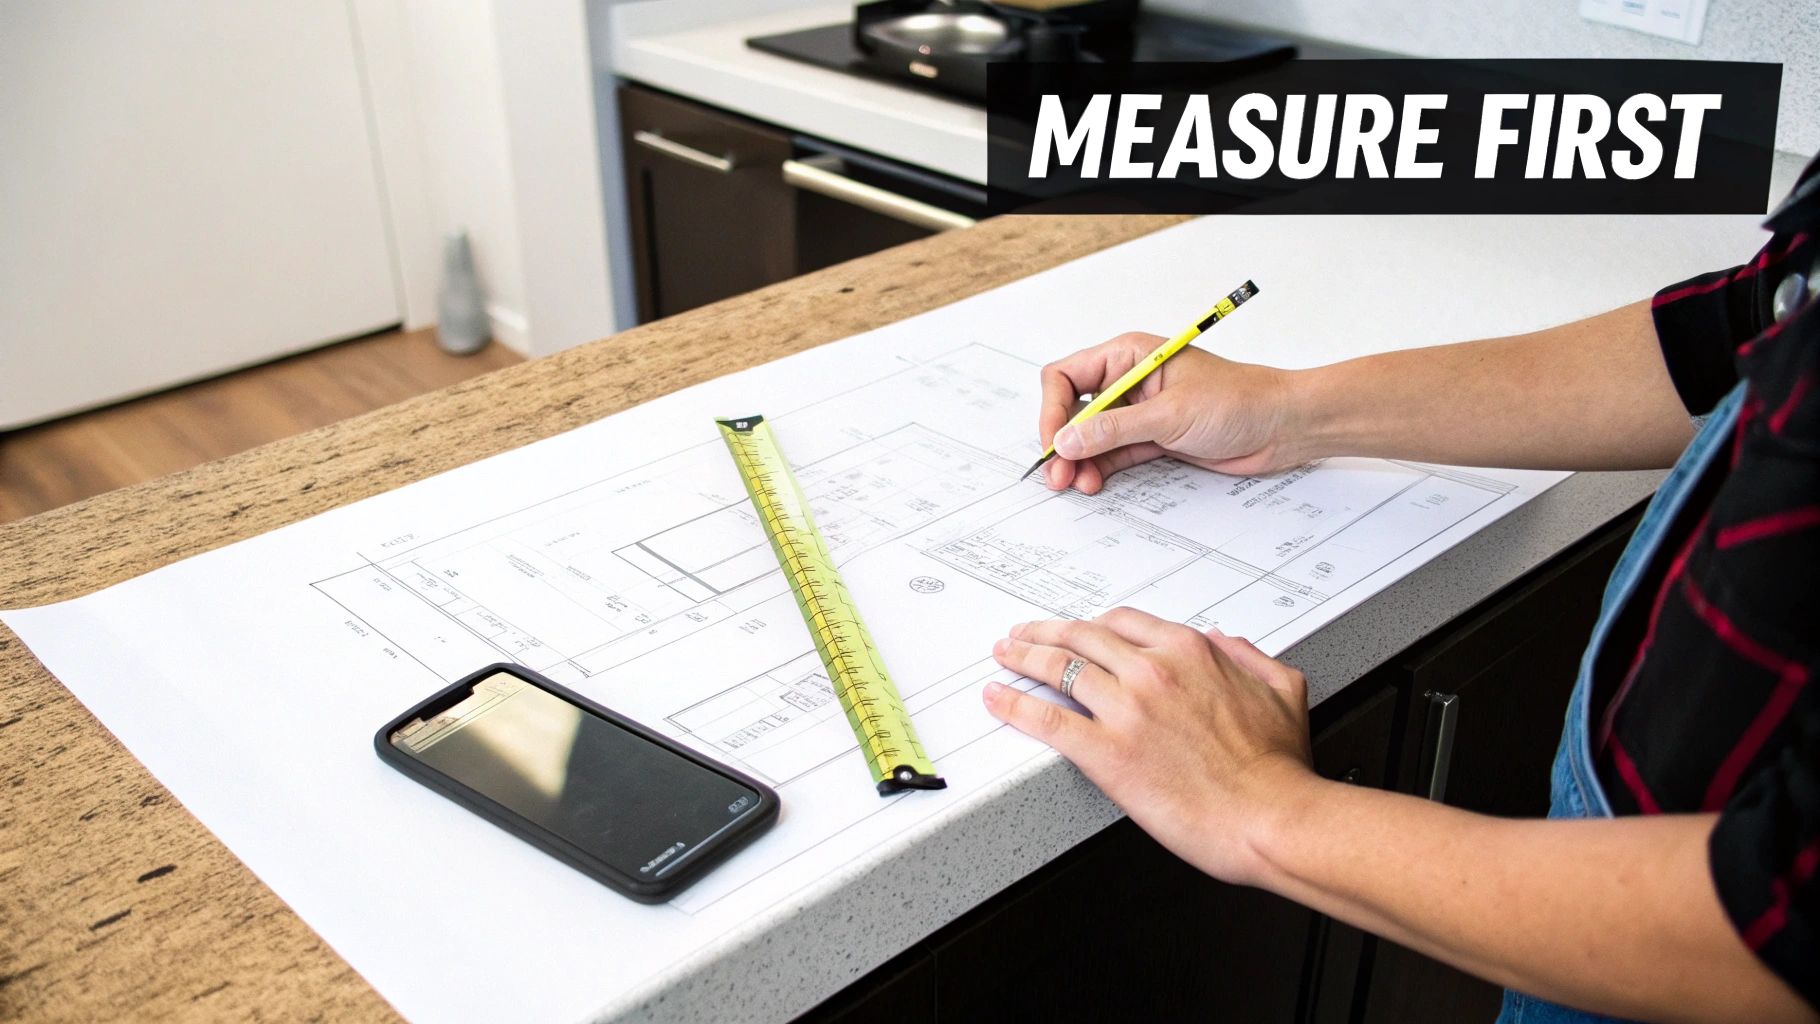
Jumping into a kitchen renovation can feel like a massive job, but the financial payoff makes it a tempting option for many homeowners. Just imagine remodeling your kitchen without that huge line item for professional labor.
A DIY cabinet installation can slash your overall costs by 30% to 50%, turning what could be a huge expense into a much more manageable project. Often, the money you save on labor alone is enough to cover all the tools and materials you'll need.
This first phase is all about strategy. Before you even think about picking up a drill, you need a rock-solid plan. It’s the one thing that will prevent the most common—and costly—mistakes down the road.
To give you a better idea of the journey ahead, here’s a quick overview of the key phases you'll be working through. This table breaks down what you're trying to accomplish at each stage and a rough time estimate.
Remember, these are just estimates! Your project could be faster or take a bit longer depending on the complexity of your kitchen and your own experience level.
The very first hands-on step is to create a detailed map of your kitchen. Grab a tape measure, a pencil, and some paper to sketch out the room's footprint.
With these measurements in hand, you can start sketching out a layout. This is where a service like our free 3D design becomes a game-changer. Just send us your measurements, and our team can create a visual rendering and a precise cabinet list for you. It takes all the guesswork out of the process and ensures a perfect fit.
One of the biggest decisions you'll make is choosing between Ready-to-Assemble (RTA) and pre-assembled cabinets. This choice will directly impact your budget, timeline, and the amount of work you’ll be doing.
RTA cabinets are shipped flat-packed, meaning you’ll build the cabinet boxes yourself. They are generally more affordable and ship faster, making them a fantastic choice for budget-conscious DIYers who don't mind a little hands-on assembly. You can learn more in our homeowner's guide to ready-to-assemble kitchen cabinets.
Pre-assembled cabinets, on the other hand, arrive ready to hang right out of the box. This saves you a ton of time and effort during the installation. While the upfront cost is a bit higher, you’re paying for the convenience of a much faster install. Here at Cabinets4sure, we offer both options so you can pick what’s right for your project.
Once you have a plan and have chosen your cabinets, it's time to prep the room. A clean, prepared space is the foundation for a flawless installation.
Start by clearing the kitchen of all old cabinets, appliances, and any debris. You need a blank canvas to work with.
Next, find and mark every wall stud with a stud finder. This is non-negotiable—you need to anchor your heavy upper cabinets securely into the studs. Finally, establish a perfectly level reference line around the room. This line will guide your entire installation and is the key to making sure everything lines up perfectly.
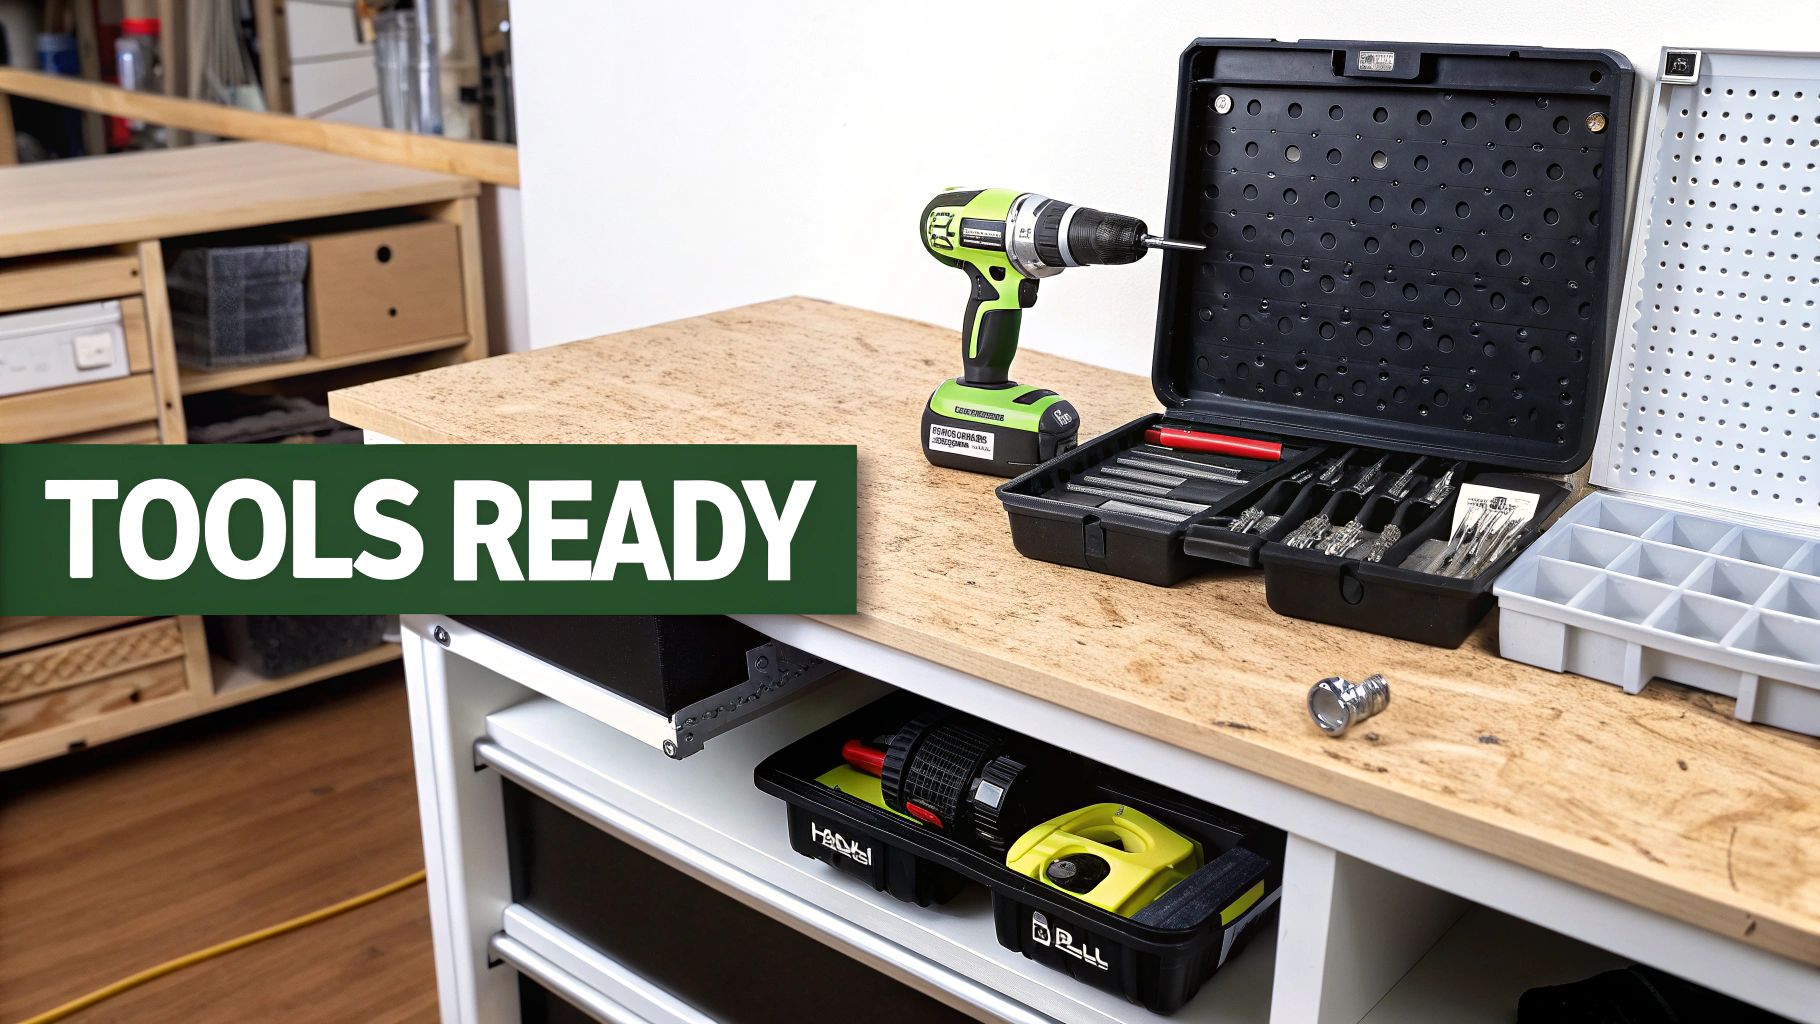
With a solid plan in hand, your project starts feeling real. This is where you shift from kitchen designer to cabinet installer, and it all begins with getting your tools and materials staged and ready to go.
Think of it as setting up your command center. A successful DIY installation is built on a foundation of good prep work. A clean, organized workspace isn't just nice to have—it's essential for safety and getting those professional, precise results.
Working efficiently is all about having the right tool for the job. You don't need a pro-level workshop, but there are a few non-negotiable items that will make your life a whole lot easier and ensure your cabinets are installed correctly.
Here’s a quick rundown of what you’ll need to have on hand:
Having everything laid out means you can keep your momentum going, moving from one task to the next without having to stop and search for a tool.
If you went with Ready-to-Assemble (RTA) cabinets, this is the moment your kitchen starts to take shape. Our RTA cabinets at Cabinets4sure are designed for a straightforward build, typically using a cam-lock and dowel system that creates strong, perfectly square boxes without needing complex joinery skills.
Pro Tip: Before you start, open one box and get familiar with all the hardware. Sorting your screws, cam locks, and dowels into little piles for each cabinet will make the process fly by. This simple trick can cut your assembly time by up to 25%.
The process is pretty intuitive. You’ll connect the side panels to the base, slide the back panel into its groove, and secure the top. Before you fully tighten everything, use a framing square to double-check that the cabinet is perfectly square. Just pop it in a corner to confirm you have a perfect 90-degree angle.
For an extra bit of strength, you can add a thin bead of wood glue in the joints before locking them down. It’s not always required, but it adds serious rigidity that helps the cabinet box stand up to years of daily use.
Reading instructions is one thing, but actually seeing it done can make all the difference. That’s why we have detailed assembly videos for all our cabinet lines. Watching a quick video can save you from a major headache and help you avoid common mistakes.
You can find our complete collection of cabinet assembly videos here to follow along.
Once your cabinets are built, the final prep step is to organize them around the room according to your layout. Place each cabinet near its final home. This simple bit of staging makes the installation process flow so much better, letting you grab and hang each cabinet in a logical, efficient order.
Let’s be honest, hanging the upper cabinets can be the most intimidating part of the job. You’re dealing with heavy boxes that need to be perfectly level and absolutely solid. But with the right approach and a little bit of prep, you can get it done with total confidence.
The secret weapon here, especially if you have a helper (and I highly recommend you do), is a temporary ledger board. This is just a straight 1x3 or 1x4 board screwed into the wall studs along your level guideline. Think of it as a temporary shelf—it holds the weight of the cabinets so you can focus on getting the position just right and driving the screws. It’s like having an extra set of hands that never complains.
You always start with the corner cabinet. If your layout doesn’t have one, just begin at one end of the cabinet run. This first cabinet is critical because every other cabinet will align with it.
Before you even think about lifting it, do yourself a favor and remove the cabinet doors and shelves. This makes the cabinet box way lighter and much less awkward to maneuver. Plus, it gives you wide-open access to the inside for drilling and securing it to the wall.
Finally, transfer the stud locations from your wall directly onto the back of the cabinet. Just hold the cabinet up, make your marks, and then drill pilot holes through the cabinet’s back panel and hanging rail before you lift it into place.
With your ledger board mounted and ready, lift that first cabinet and rest it right on top. The board instantly takes the load, freeing you up to get everything perfect.
A huge mistake people make is using drywall screws. Don't do it. Cabinet screws have a much wider head that provides a stronger, more secure hold. For heavy upper cabinets, this is non-negotiable.
Once the first cabinet is up, the next one goes right beside it. The trick to a pro-level install is making that seam between cabinets disappear, which is where your clamps become your best friends.
Lift the second cabinet onto the ledger and butt it up tight against the first one. Use at least two clamps to pull the face frames of the two cabinets together until their front surfaces are perfectly flush.
With the cabinets clamped tight, drill pilot holes through the side of one face frame and into the next. Then, lock them together with 1 ¼-inch screws. Two screws are usually plenty—one near the top hinge and another near the bottom hinge.
Just keep this rhythm going: install a cabinet, clamp it to its neighbor, connect the face frames, and then secure it to the wall studs. Work your way out from the corner until they’re all hung.
Once they're all up, go back for one last check with your level to ensure everything is perfectly plumb and level. Nudge in any final shims you might need, then go back and tighten down all the wall screws for good. You should now have a single, solid bank of cabinets securely anchored to the wall.
If you're a visual learner, you can watch an installation video on our site to see exactly how it's done.
Last step? You can now remove your temporary ledger board. Don’t worry about the small screw holes it leaves—your backsplash will cover them up easily.
With your upper cabinets securely mounted, it's time to bring the focus down to the floor. Setting your base cabinets is all about creating a rock-solid, perfectly level foundation for your countertops. Get this part right, and everything else—from the dishwasher to the backsplash—will fall into place beautifully.
This step demands patience. Unlike walls, which are usually somewhat straight, floors are notoriously uneven, especially in older homes. This is where you'll get good at the art of shimming to bridge those gaps and create a flawless surface.
Before you even think about moving a cabinet, you need to find the single highest point on the floor where your cabinets will live. This spot becomes the reference for everything that follows. It's non-negotiable.
To find it, lay a long, straight edge (a 4-foot level is perfect for this) on the floor right up against the wall. Slowly slide it along the length of the cabinet run. Watch for where it rocks or where you see gaps underneath. The one spot where the level rests perfectly flat without any rocking or gapping? That's your high point.
Mark that spot on the wall. From that mark, measure up exactly 34 ½ inches—the standard height for a base cabinet—and draw a crisp, level line around the entire room. This line, not the floor, is now your guide.
Just like we did with the uppers, we're starting in the corner. If you have a corner unit like a lazy Susan, that's your first piece to go in. If your layout doesn't have one, start with the sink base, since its location is usually locked in by the existing plumbing.
Slide your first cabinet into position, nudging it into the corner or lining it up with your plumbing marks. Now, check its alignment against that level line you drew. The top edge of the cabinet must be perfectly flush with your line.
This is where your shims become your best friend.
Once the cabinet is perfectly level and plumb, drive 3-inch cabinet screws through the sturdy back rail and into the wall studs to lock it in place.
With your first cabinet anchored, the rest is a matter of repeating these precise steps. It's a satisfying rhythm once you get going.
This simple workflow shows the core steps for installing the uppers, a similar logic applies here on the ground.
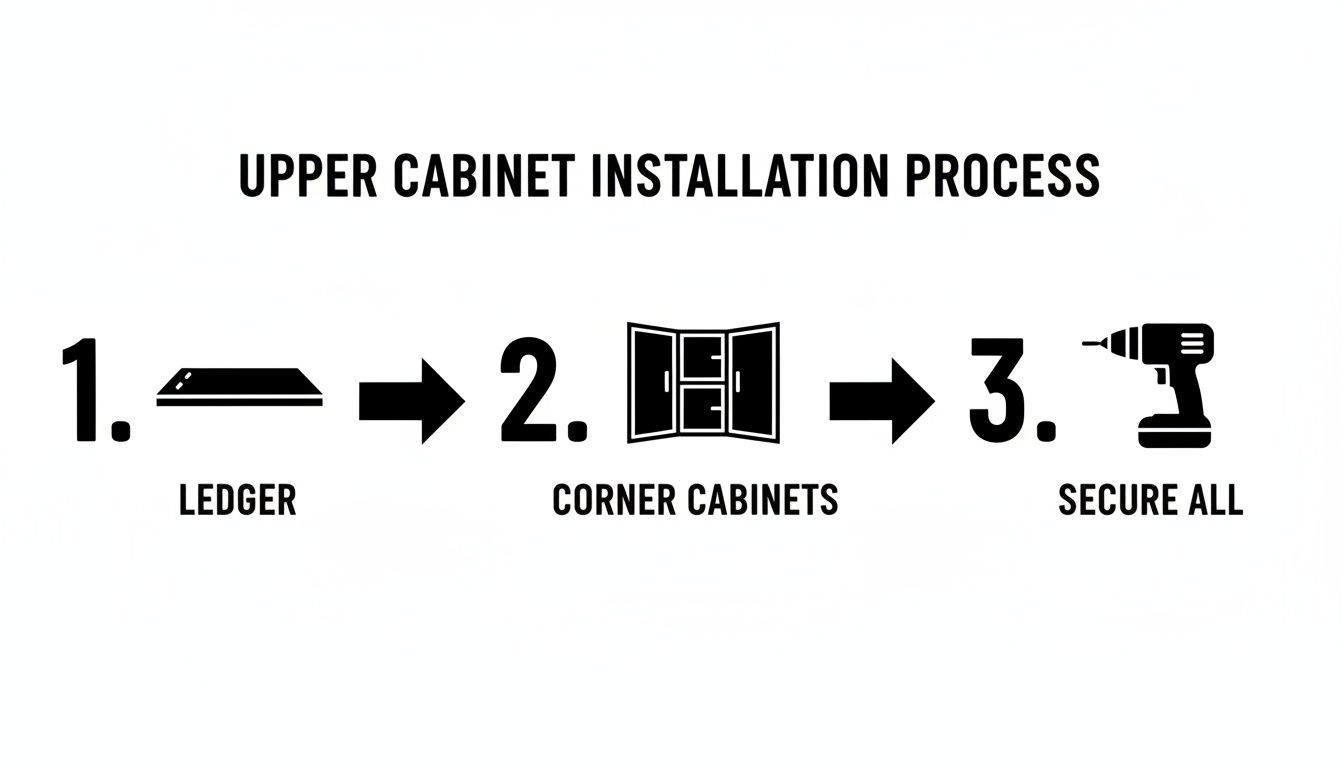
This graphic illustrates the fundamental sequence of establishing a reference (the ledger), starting in a corner, and then securing everything in place.
Bring your next cabinet into position right beside the first one. Use a few clamps to pull their face frames tightly together, making sure the fronts are perfectly flush. Level this new cabinet using the same shimming process, ensuring its top edge kisses that 34 ½-inch guideline.
Once it's clamped and level, drill a few pilot holes through the side of one face frame and into the other. Then, drive 1 ¼-inch screws to join them together. This step is what turns a bunch of individual boxes into a single, solid unit and prevents those ugly gaps from appearing down the road.
Continue this process—position, level, clamp, join, and secure—for each cabinet as you work your way out from the corner. The real magic of learning how to install kitchen cabinets yourself is mastering these skills and seeing the massive savings firsthand. As demand for kitchen cabinets in the US pushes toward $20.6 billion by 2033, savvy DIYers can cut 30%-50% of the labor costs on projects that often run into the thousands. Discover more insights about the growing cabinet market and its impact on homeowners.
Alright, you've muscled all the cabinet boxes into place and secured them to the walls. Now, the heavy lifting is over and the real artistry begins. This is where a good DIY job becomes a great one.
These final steps—installing doors, adding hardware, and fitting trim—are all about precision. It's the finessing that transforms a room full of boxes into a polished, custom-looking kitchen you'll be proud of. Patience here is key.
First up, let's get those doors and drawer fronts you set aside back on. Most modern cabinets, including ours here at Cabinets4sure, come with 6-way adjustable hinges. For a DIYer, these are a game-changer. They give you incredible control over the final placement of each door.
These hinges let you tweak the door's position in three different planes:
Take your time with this part. Work on one door at a time, making small turns on each adjustment screw to see its effect. Every few minutes, step back and look at the entire run of cabinets to check your progress. You're aiming for beautiful, parallel gaps all around.
With the doors hanging perfectly, it's time to add the jewelry—the handles and pulls. This might seem like the easy part, but a slightly crooked handle will stick out like a sore thumb. Your best friend for this task is a cabinet hardware jig.
This inexpensive template is a lifesaver. It guarantees that every single hole you drill is in the exact same spot on every single door and drawer. That consistency is what separates amateur work from a professional finish.
Just set the jig to your preferred location, clamp it down so it can't move, and drill your holes. It completely removes the guesswork and saves you from the gut-wrenching mistake of drilling a hole in the wrong place on your brand-new cabinet door.
Trim work is what makes your cabinets look like they were truly built for the space. It covers the necessary gaps and gives the entire installation a seamless, integrated feel. You'll mainly be working with toe kicks, scribe molding, and crown molding.
Installing Toe Kicks
The toe kick is the board that covers the recessed area at the bottom of your base cabinets, hiding the shims and cabinet feet from view. Simply measure the length of each cabinet run, cut your toe kick board to fit, and attach it with a few finish nails or some construction adhesive. It’s a small detail that makes a world of difference.
Pro Tip: Paint or seal your toe kick boards before you install them. This area takes a beating from shoes, brooms, and vacuums, so a good coat of paint will protect it from scuffs and moisture right from the start.
Concealing Gaps with Scribe Molding
Let’s be honest: no wall is perfectly flat or plumb. You’ll almost certainly have small, wavy gaps where the side of a cabinet meets the wall. This is where scribe molding comes in. It’s a thin, slightly flexible piece of trim designed specifically to cover these little imperfections.
Cut the scribe molding to the height of your cabinet, run a thin bead of wood glue or construction adhesive along the back, and press it firmly into place. A few brad nails will hold it tight while the glue sets. The result is a clean line that makes it look like your cabinet grew right out of the wall.
Adding Crown Molding
If you want to add a final touch of elegance, crown molding is the way to go. Installed along the top of your upper cabinets, it draws the eye up and gives the whole kitchen a grander, more finished appearance. This can be the most challenging part of learning how to install kitchen cabinets yourself because it requires precise miter cuts, but the stunning result is absolutely worth the effort.
Even with the best guide in hand, a few questions always pop up once you start the actual work. Getting your hands dirty brings up real-world challenges, so let's tackle the most common questions we hear from DIYers. We've got clear, straightforward answers to keep you moving with confidence.
Look, a pro crew can bang out a kitchen in a day or two, but that's not a realistic benchmark for a DIY project. Your goal here is precision, not speed.
For a standard 10x10 kitchen, you should plan on dedicating a full weekend—that’s 2 to 3 solid days—just for the cabinet assembly and installation. And that's assuming the room is already prepped and empty. If this is your first time doing this kind of work, I'd strongly suggest budgeting an extra day. Trust me, you'll be glad to have that buffer for learning curves, making careful adjustments, and those inevitable trips back to the hardware store.
For most first-timers, the biggest challenge is getting everything perfectly level and plumb, especially in older homes where the floors and walls have their own ideas about what's straight. This is where patience really becomes your most important tool.
That first upper cabinet? It's often the most nerve-wracking part of the whole job because it sets the tone for the entire run. This is exactly why a temporary ledger board is non-negotiable; it makes that critical first step so much easier to manage. Another tricky spot is scribing filler strips to fit perfectly against wavy walls—it takes a steady hand and a bit of trial and error to get it just right.
Takeaway: The real difference between a DIY job and a pro-level finish is how well you deal with the room's imperfections. Take your time leveling and shimming. It's the most crucial skill you'll use.
You can definitely handle assembling the cabinet boxes and setting most of the base units by yourself. But when it comes to the uppers, installing them is absolutely a two-person job. There's just no safe way to do it alone.
Wall cabinets are heavy and incredibly awkward to hold steady, level, and tight to the wall while you're also trying to drill and drive screws. Having a helper makes the process infinitely safer, faster, and less frustrating. Going it alone is a huge risk to both yourself and your beautiful new cabinets. For the sake of safety and the quality of your work, please phone a friend for this part.
A few common, totally preventable mistakes can throw a wrench in your project. Just knowing what they are is half the battle.
Ready to turn your plans into reality? At Cabinets4sure, Inc., we make it easy with our free 3D design service and a massive selection of in-stock RTA and pre-assembled cabinets that ship in days, not weeks. Get your free kitchen design and quote today!